|
Elektor/CC2 MiniMod18 Module |

|
|
First steps with the Elektor MM18 module
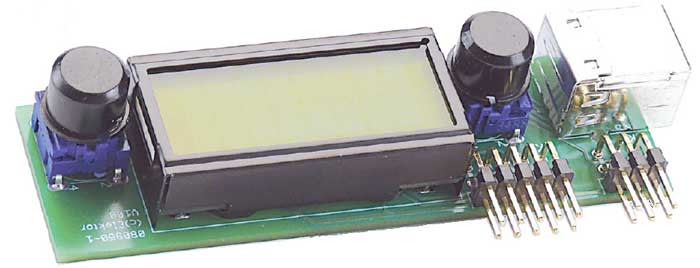
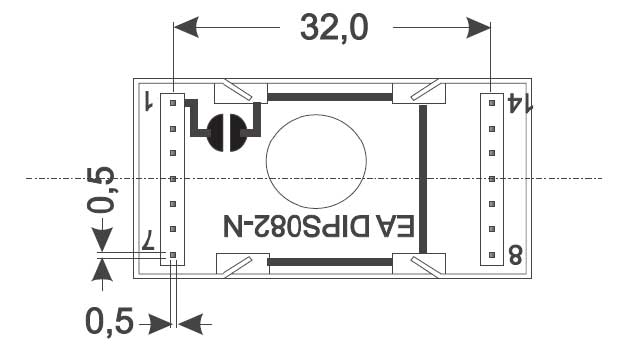
The ATM18 module from the CC2 project uses an Atmega88 processor. You can see the MM18 as a big brother. It uses the Atmega328 processor which is exactly the same as the Atmega88 but has more flash memory and more internal memory. The LCD display, connectors and buttons need to be assembled and soldered. The LCD display can be mounted on the board directly. Use the image below to determine pin 1 which is the ground pin. The image shows the bottom of the connector.
Now all is left is adjusting the contrast voltage. We need to load a program into the module.
The module has a built in boot loader. A boot loader is small piece of software that is executed when the controller is powered up(or booting). In this case, the boot loader is an USBASP programmer. This is a popular USB programmer for the AVR. Of course USBASP is also support by BASCOM-AVR.
You need to select the programmer in Options, Programmer 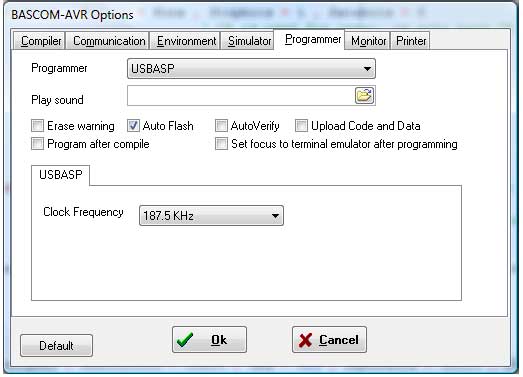
Select the lowest clock frequency. The clock frequency must be a quarter of the module clock frequency. Since the module is clocked with 16 MHz, you can also use the highest supported clock frequency. But since new empty chips run at 1 Mhz it is good practice to start with the lowest clock frequency.
Sample Program Now we need a program.
You can use the following program which is based on the program written by Wolfgang Rudolph and Dr. Detlev Tietjen for Elektor.
'--------------------------------------------------------------------------
' MM18.BAS
' New Elektor MiniMod Module with USBASP bootloade built in
'--------------------------------------------------------------------------
$regfile = "m328pdef.dat" ' Specify The Used Micro
$crystal = 16000000 ' used crystal frequency
$baud = 19200 ' use baud rate
$hwstack = 32 ' default use 32 for the hardware stack
$swstack = 10 ' default use 10 for theSW stack
$framesize = 40 ' default use 40 for theframe space
'-------------------------------------------------------------------------
$initmicro ' run subroutine _init_micro
Config Clockdiv = 1 ' divide xtal clock by 1, default fuse bit is set to 8
Config Lcdpin = Pin , Db4 = Portd.4 , Db5 = Portd.5 , Db6 = Portd.6 , Db7 = Portd.7 , E = Portc.1 , Rs = Portc.2
Config Lcd = 16 * 2 'configure lcd screen 8*2 not available
S1 Alias Pinb.1 'switch 1
S2 Alias Pinb.0 'switch 2
Cursor Off
Cls
Lcd "MiniMod"
Lowerline
Lcd "Alive"
Waitms 2000
'#######!!!!!!!!!!!!!!!!!!!!!!!!!!!!!!#####
' now you can adjust the contrast with P1
'#######!!!!!!!!!!!!!!!!!!!!!!!!!!!!!!#####
Do
If S1 = 0 Then 'if switch S1 is pressed it becomes 0
Cls : Lcd "S1"
Elseif S2 = 0 Then
Cls : Lcd "S2"
End If
Loop
End 'end program
'this routine is executed first, use it to set pins to the needed state quickly
_init_micro:
Config Portc.3 = Output
Portc.3 = 0 'lcd : R/W Low
Portb = &B11 'activate pull up resistors on switches
Return
Now compile and press F4. When you do not get an error message, the module is now programmed ! You can now press S2 so the USBASP boot loader will be terminated and your program will be executed. All you need to do now is to adjust the contrast of the LCD display so the text becomes visible. The first time you get into the boot loader automatically when you connect the USB connector and the module is powered. After that, to go to boot mode, you need to press S1, then apply power(connector). Or simply add a reset switch to the reset pin and ground. Connect the switch between pin 5 and 6 of K3.
LIBUSB When programming failed it might be that LIBUSB is not installed yet.
Now a warning : Make a restore point before you install the driver. With a restore point you can revert back to a working PC in case of a problem. During installation, some USB devices might stop working. So do not install from an USB flash disk.
The driver will install fine on XP. On Vista and Windows 7 (32 bit), you need to install in administrator mode, with XP compatibility mode set. 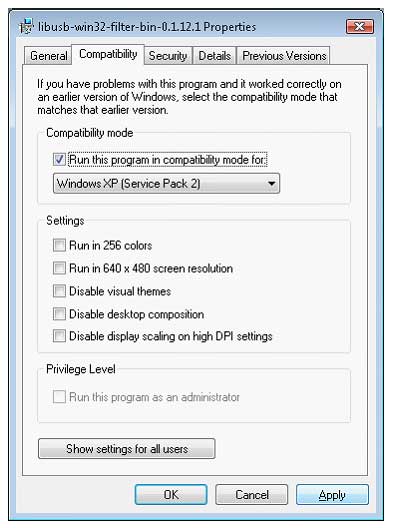
When you right click the file in explorer and you chose properties, you can set the compatibility mode.
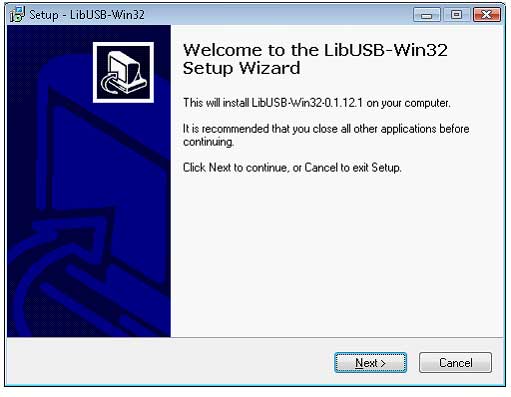
When you run the setup in administrator mode you will see the following screen.
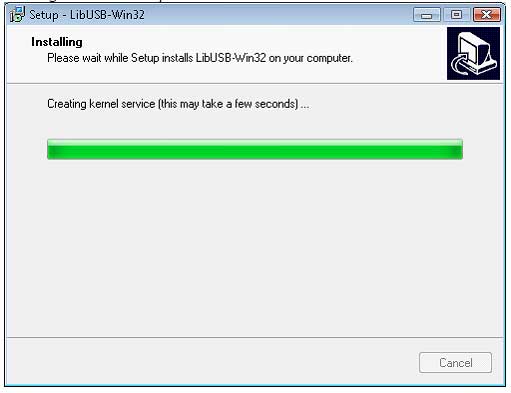
During installation you will see this screen.
After installation, you can run a test program, and when LIBUSB is working, USBASP support in BASCOM should work fine too.
Older versions of the BASCOM-IDE had a problem in writing the data buffer. Customer can use updatewiz you can get a fix for this. When you use the demo, you can download a fix from MCS web site. Download link |